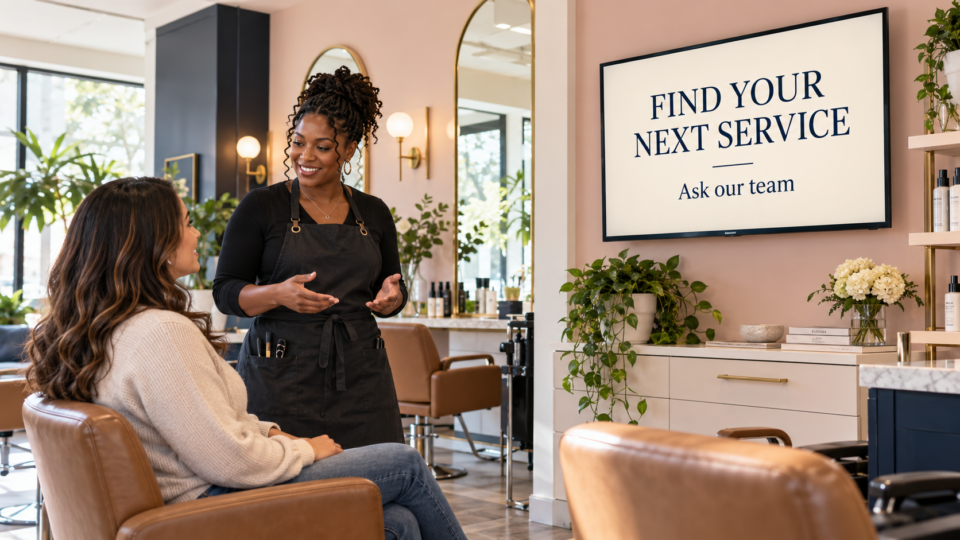
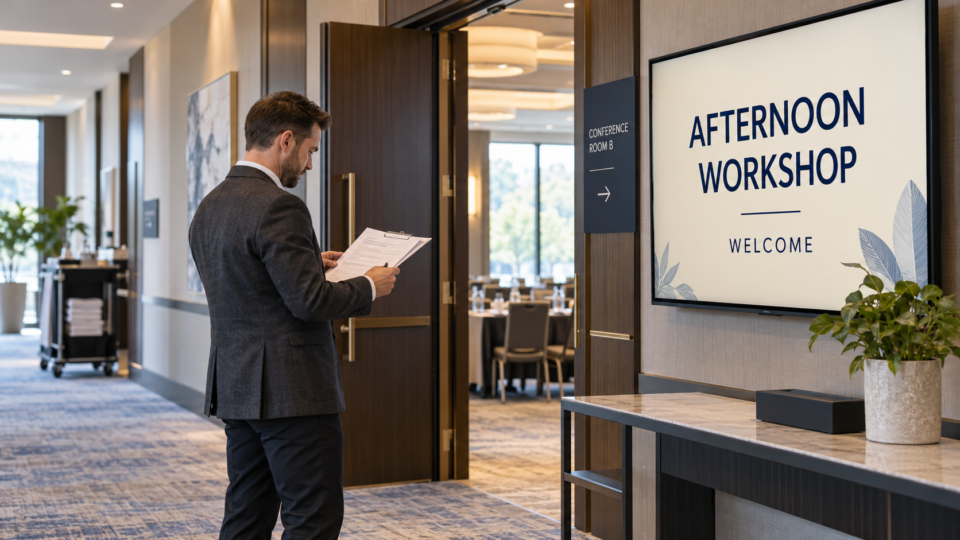
Open Screen Maker, give it a starting point, select Make My Screen, and review the result. In Pair and Play AI Screen Maker, the photo, description, logo, and exact wording are optional input types: you can use just one or combine them. You do not have to assemble a complete design brief first.
Screen Maker handles the design work. You bring the business idea, review the finished screen, and choose its playlist. The steps below take you through that complete path.
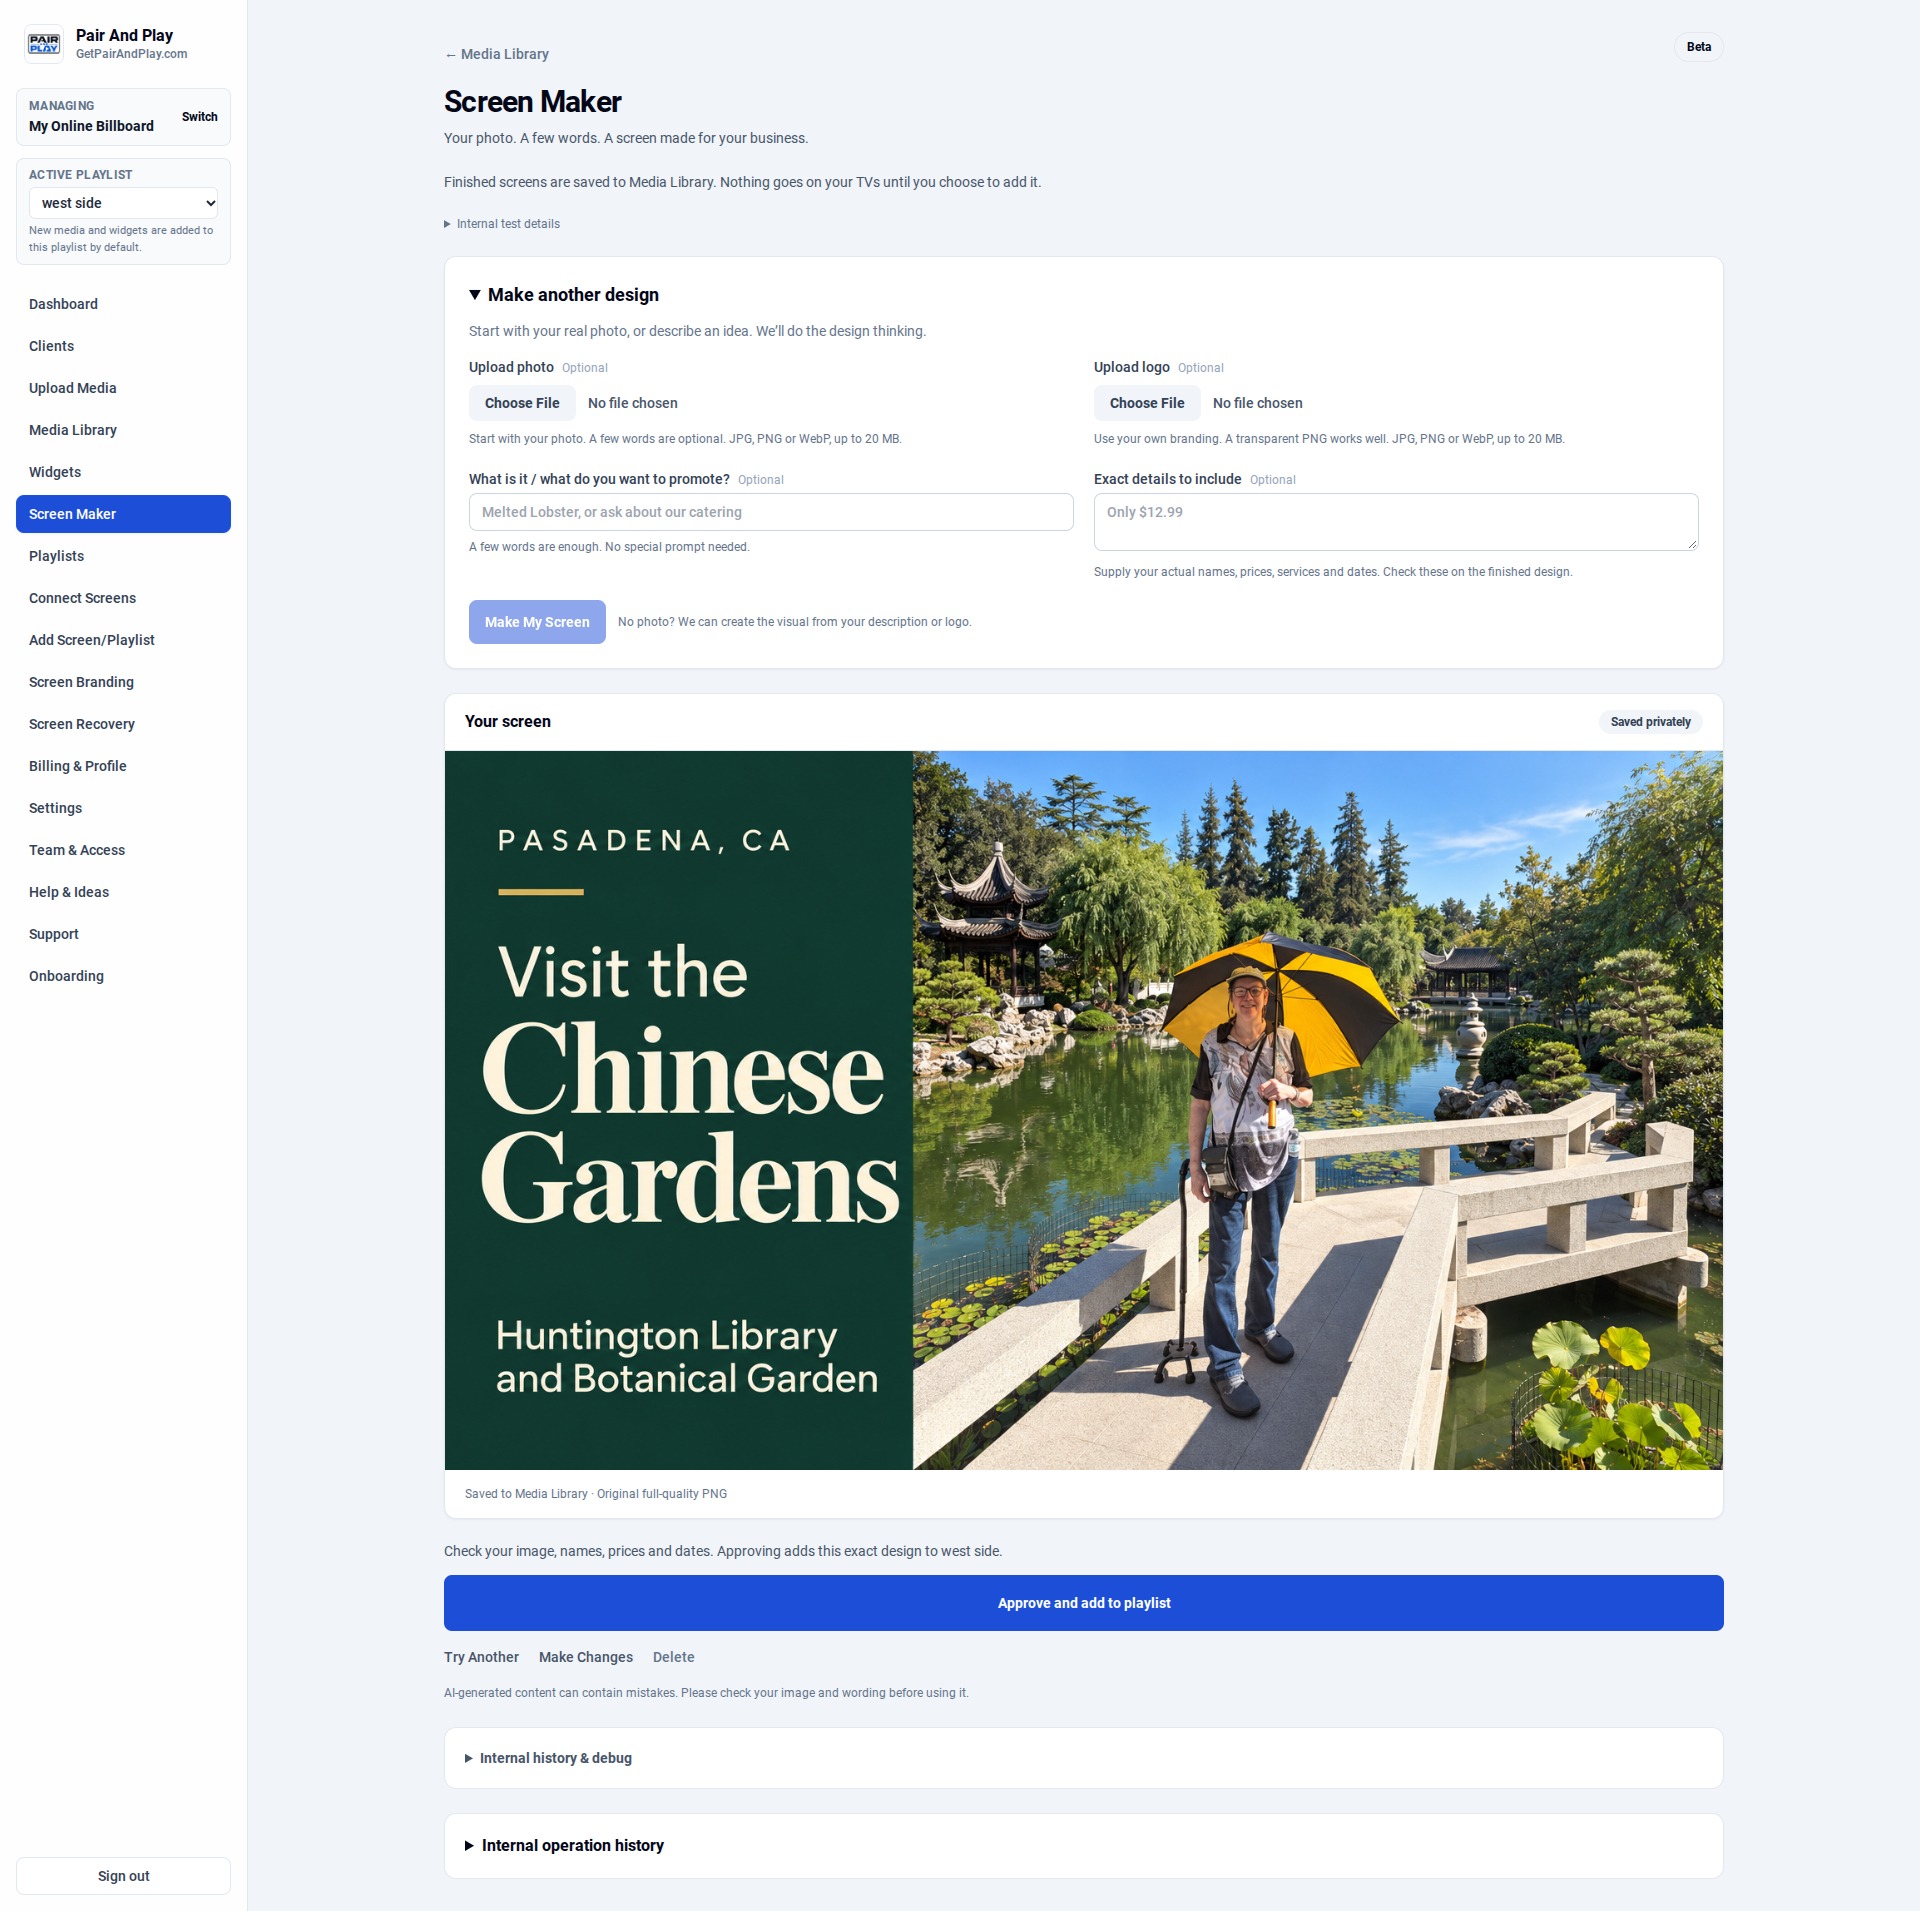
This guide follows the current Beta interface. The owner-supplied screenshot below shows the optional inputs, a finished example, and the approval control. Menus may vary by account and role.
For help choosing the message and checking its facts, see how to create digital signage content with AI.
1. Check the business and active playlist
Make sure you are working in the intended business workspace. In the supplied view, the left sidebar shows the business being managed and an Active Playlist selector. That context matters when one account manages more than one business or display.
Choose the playlist you intend to update before creating the screen. For a venue, that might be a welcome playlist for one event. For a café, it might be the counter display. Use a clear playlist name so the final approval message is easy to check.
Screen Maker access depends on the account and role. If the option is missing, check that you are in the right workspace and ask the account owner or Pair and Play support to confirm access. Do not assume that another person’s account view applies to yours.
2. Start with whichever input you have
There is no requirement to fill every field. Pick the starting point that makes the job easiest:
- A photo: upload a real product, room, service setting, or other image you have permission to use. This is useful when the actual thing customers will see or buy should anchor the design.
- A description: explain what you want customers to know. “Help our café customers discover that we offer coffee for team meetings” is a useful starting point without technical design language.
- A logo: supply your authorized business branding. A transparent PNG can be useful when you want the mark placed without a solid rectangular background.
- Exact wording: supply the words you want included. This is especially useful for a name, date, approved service title, price, or short next step that should not be guessed.
You can also combine inputs: a real dish photo, the restaurant logo, a short description of the special, and its approved wording. More inputs are useful only when they add information the screen needs.
3. Keep the message simple
For a first attempt, give the screen one job. A fictional café example could use:
Description: We offer coffee for team meetings. Create a welcoming café-counter TV screen that helps customers discover this option.
Exact wording: Coffee for your meeting. Ask our team.
That is enough to establish the idea and the next step. A price, delivery promise, serving quantity, or deadline should only appear if the business has supplied and approved it. You do not need to invent those details to make the screen feel complete.
If a photo already communicates the idea, start there. If you only have a message, start with the message. Screen Maker is designed to turn those starting points into professional customer-facing designs; a lengthy prompt is not a prerequisite.
4. Select Make My Screen and review the design
After generation, inspect the screen at a useful size. Read the headline and small details, look closely at the photo and logo, and compare every factual statement with what you intended.
For the café example, the test is not merely whether the design looks attractive. Can a customer understand that meeting coffee is available? Is “Ask our team” easy to notice? Has the design added a package or claim that the owner never supplied?
The current example view labels the design as privately saved and shows that it is saved to Media Library. The header also explains that finished screens do not go on TVs until you choose to add them. That gives you a place to review before the approval action.
5. Make a change if something needs attention
The supplied view includes Make Changes and Try Another. Use a specific correction when the direction is already close: “Keep this photo and layout. Make the next-step text larger and remove the extra sentence.” Review the revised version rather than assuming the requested change is the only thing that changed.
Check names, dates, prices, contact details, logo integrity, and product appearance. For patient education or other specialist content, get the responsible professional’s approval. A generated image is not independent verification of its wording.
6. Read the playlist confirmation before approving
Immediately above the approval button, the example interface identifies the playlist the design will be added to. Read that sentence. Make sure the business, playlist, and design are all the ones you intended.
Then use Approve and add to playlist when you are ready for that placement. If the destination is wrong or unclear, stop before approving and correct the selection. Do not rely on remembering which playlist was active when you first signed in.
7. Verify the actual TV
Confirm the design is in the intended playlist, in the right position, with the intended timing. The playlist must also be assigned to the correct connected display and relevant playback schedule.
Look at the actual TV from a normal customer position. Check readability, cropping, the next step, and what plays before and after the new screen. A saved design or successful dashboard action is not proof that the right TV is currently showing it.
For connection help, use the current Pair and Play device guide and this guide to using an existing TV as a customer communication screen. For the surrounding rotation, see how to build a useful waiting-room playlist.
Make the first screen useful, then build from it
Choose one question customers ask—or one offering they often overlook. Create that message, review it, put it in the right playlist, and watch how it reads in the room. Then decide what the next screen should explain.
Start My 14-Day Screen Test to try Pair and Play with a message specific to your business. The value is the complete path from a good idea to a professional, current, customer-facing screen—not just generating an image.