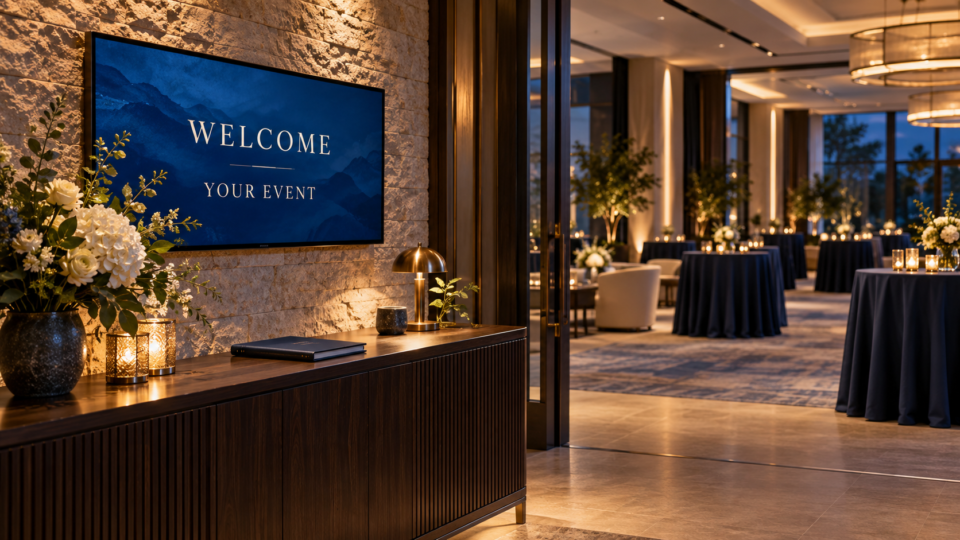
A corporate event welcome screen should confirm that guests have reached the right place and help them understand what happens next. Use the approved event title, recognizable host branding, and only the room or timing details that belong on that particular display.
Start with the organizer’s information, not a guessed agenda or an invented company identity. A professional welcome is useful because its details are correct and easy to read when people arrive.
Get one approved brief from the event lead
Ask the organizer to confirm the host’s name, event title, date, room, arrival instructions, and approved logo files. Identify one person who can approve the final design and any event-day changes.
For a fictional workshop example, the brief could identify Cedar Lane Studio as the host, “Team Workshop” as the event title, Conference Room B as the room, and the event lead as the approver. The venue would confirm each detail for the actual booking before using it. The featured image illustrates a general workshop welcome rather than that organization’s event.
Decide which information is public. An event title may be suitable at a room entrance while attendee names, private meeting details, or access information may not be. Keep internal staff notes out of the customer-facing artwork.
Build a clear reading order
Put the event name and welcome first. Add the host logo at a size that supports recognition without overpowering the message. Use the venue’s confirmed room name or direction where it helps someone navigate.
A screen at the main entrance may need to identify the event’s location. A screen immediately outside the correct room can be simpler. Use a separate agenda screen if the schedule needs more space, and verify that every time is expressed consistently for the venue’s local time.
Guests should understand the message without sound. Check the design from the point where someone enters the space, including whether the screen remains visible when people gather around reception.
Three welcome directions for different events
The following copy is fictional. Adapt it using the organizer’s approved details and the venue’s actual guest process.
1. Workshop: help people get started
WELCOME TO THE TEAM WORKSHOP
Conference Room B
Please check in with the event team.
This suits an arrival period with an actual check-in process. The title confirms the event; the room label supports orientation; the instruction tells guests what to do. If there is no check-in desk, change the action rather than adding one for the sake of the design.
A separate schedule screen can show the organizer’s approved session times. Have a staff member check it when the agenda changes. Do not leave an old start time in rotation while announcing a different one verbally.
2. Awards evening: establish the occasion
WELCOME TO OUR TEAM CELEBRATION
Please join us in the reception area.
This direction gives the evening a clear identity without displaying award recipients before the organizer is ready. Use approved company colors and genuine authorized event or team imagery if appropriate.
Confirm whether names, award categories, or announcements are intended to remain confidential until a particular moment. Prepare separate approved designs for later stages rather than placing an unreleased announcement in the general welcome rotation.
3. Client reception: make the arrival comfortable
WELCOME TO THE CLIENT RECEPTION
Our event team is here to help.
A reception welcome can stay restrained and welcoming. The organizer may want host branding and one useful direction, while the venue handles practical questions. Avoid adding a list of client logos or names without permission.
If several organizations are involved, agree on logo order, size, and wording before creating the screen. Do not let a generated layout suggest a sponsorship, endorsement, or partnership the organizer has not approved.
Create from the approved assets
Pair and Play’s Screen Maker accepts a photo, description, logo, or exact wording. Each is optional, and one can be enough. For a corporate event, approved wording and a supplied host logo are often useful inputs because spelling and brand identity matter.
Keep the visual direction simple: a readable welcome, the correct colors, and space around the event name. Review the generated result against the source files. Check every letter in the event title, the logo’s proportions and details, room information, and any added wording.
The logo and brand-color guide explains the integrity checks. The Screen Maker walkthrough covers revisions and the approval action.
Approve, place, and verify before guests arrive
Send the finished design to the agreed event approver. Keep a record of the approved version and the cutoff for routine revisions. A late room or time change needs a clear person responsible for checking and replacing the artwork.
Confirm the business and active playlist before choosing Approve and add to playlist. Check that the intended event playlist is assigned to the correct display, then inspect the TV from the guest’s approach.
After the event, remove the welcome and any private or time-sensitive information from playback. Restore the appropriate venue content before the next audience arrives. For the separate sales-tour use case, see what to show during a venue tour.
Start My 14-Day Screen Test with one approved event welcome. Evaluate the full job: clear arrival information, accurate branding, correct playback, and a clean handover afterward.