A restaurant TV special works best when the screen shows the dish customers can actually order. Start with your own food photo, confirm the details with the kitchen, and give the design one clear job: help someone notice the special and know how to ask for it.
You can create that screen in Pair and Play’s Screen Maker using a photo alone, or combine the photo with a description, logo, or exact wording. None of those inputs is mandatory. Add the details that matter for this service, then review the result before placing it in the restaurant’s playlist.
Photograph the serving you intend to sell
Ask the kitchen to plate the dish as it will be served. Use a clean background, even light, and a clear view of the food. Wipe the lens and take a few angles before the plate starts to look tired. Leave room around the dish so a wide screen can include readable wording.
Keep the photograph representative. A promotional image should not suggest extra sides, a larger portion, a garnish, or a drink that the order does not include. If you stage several items together, make the actual offer clear.
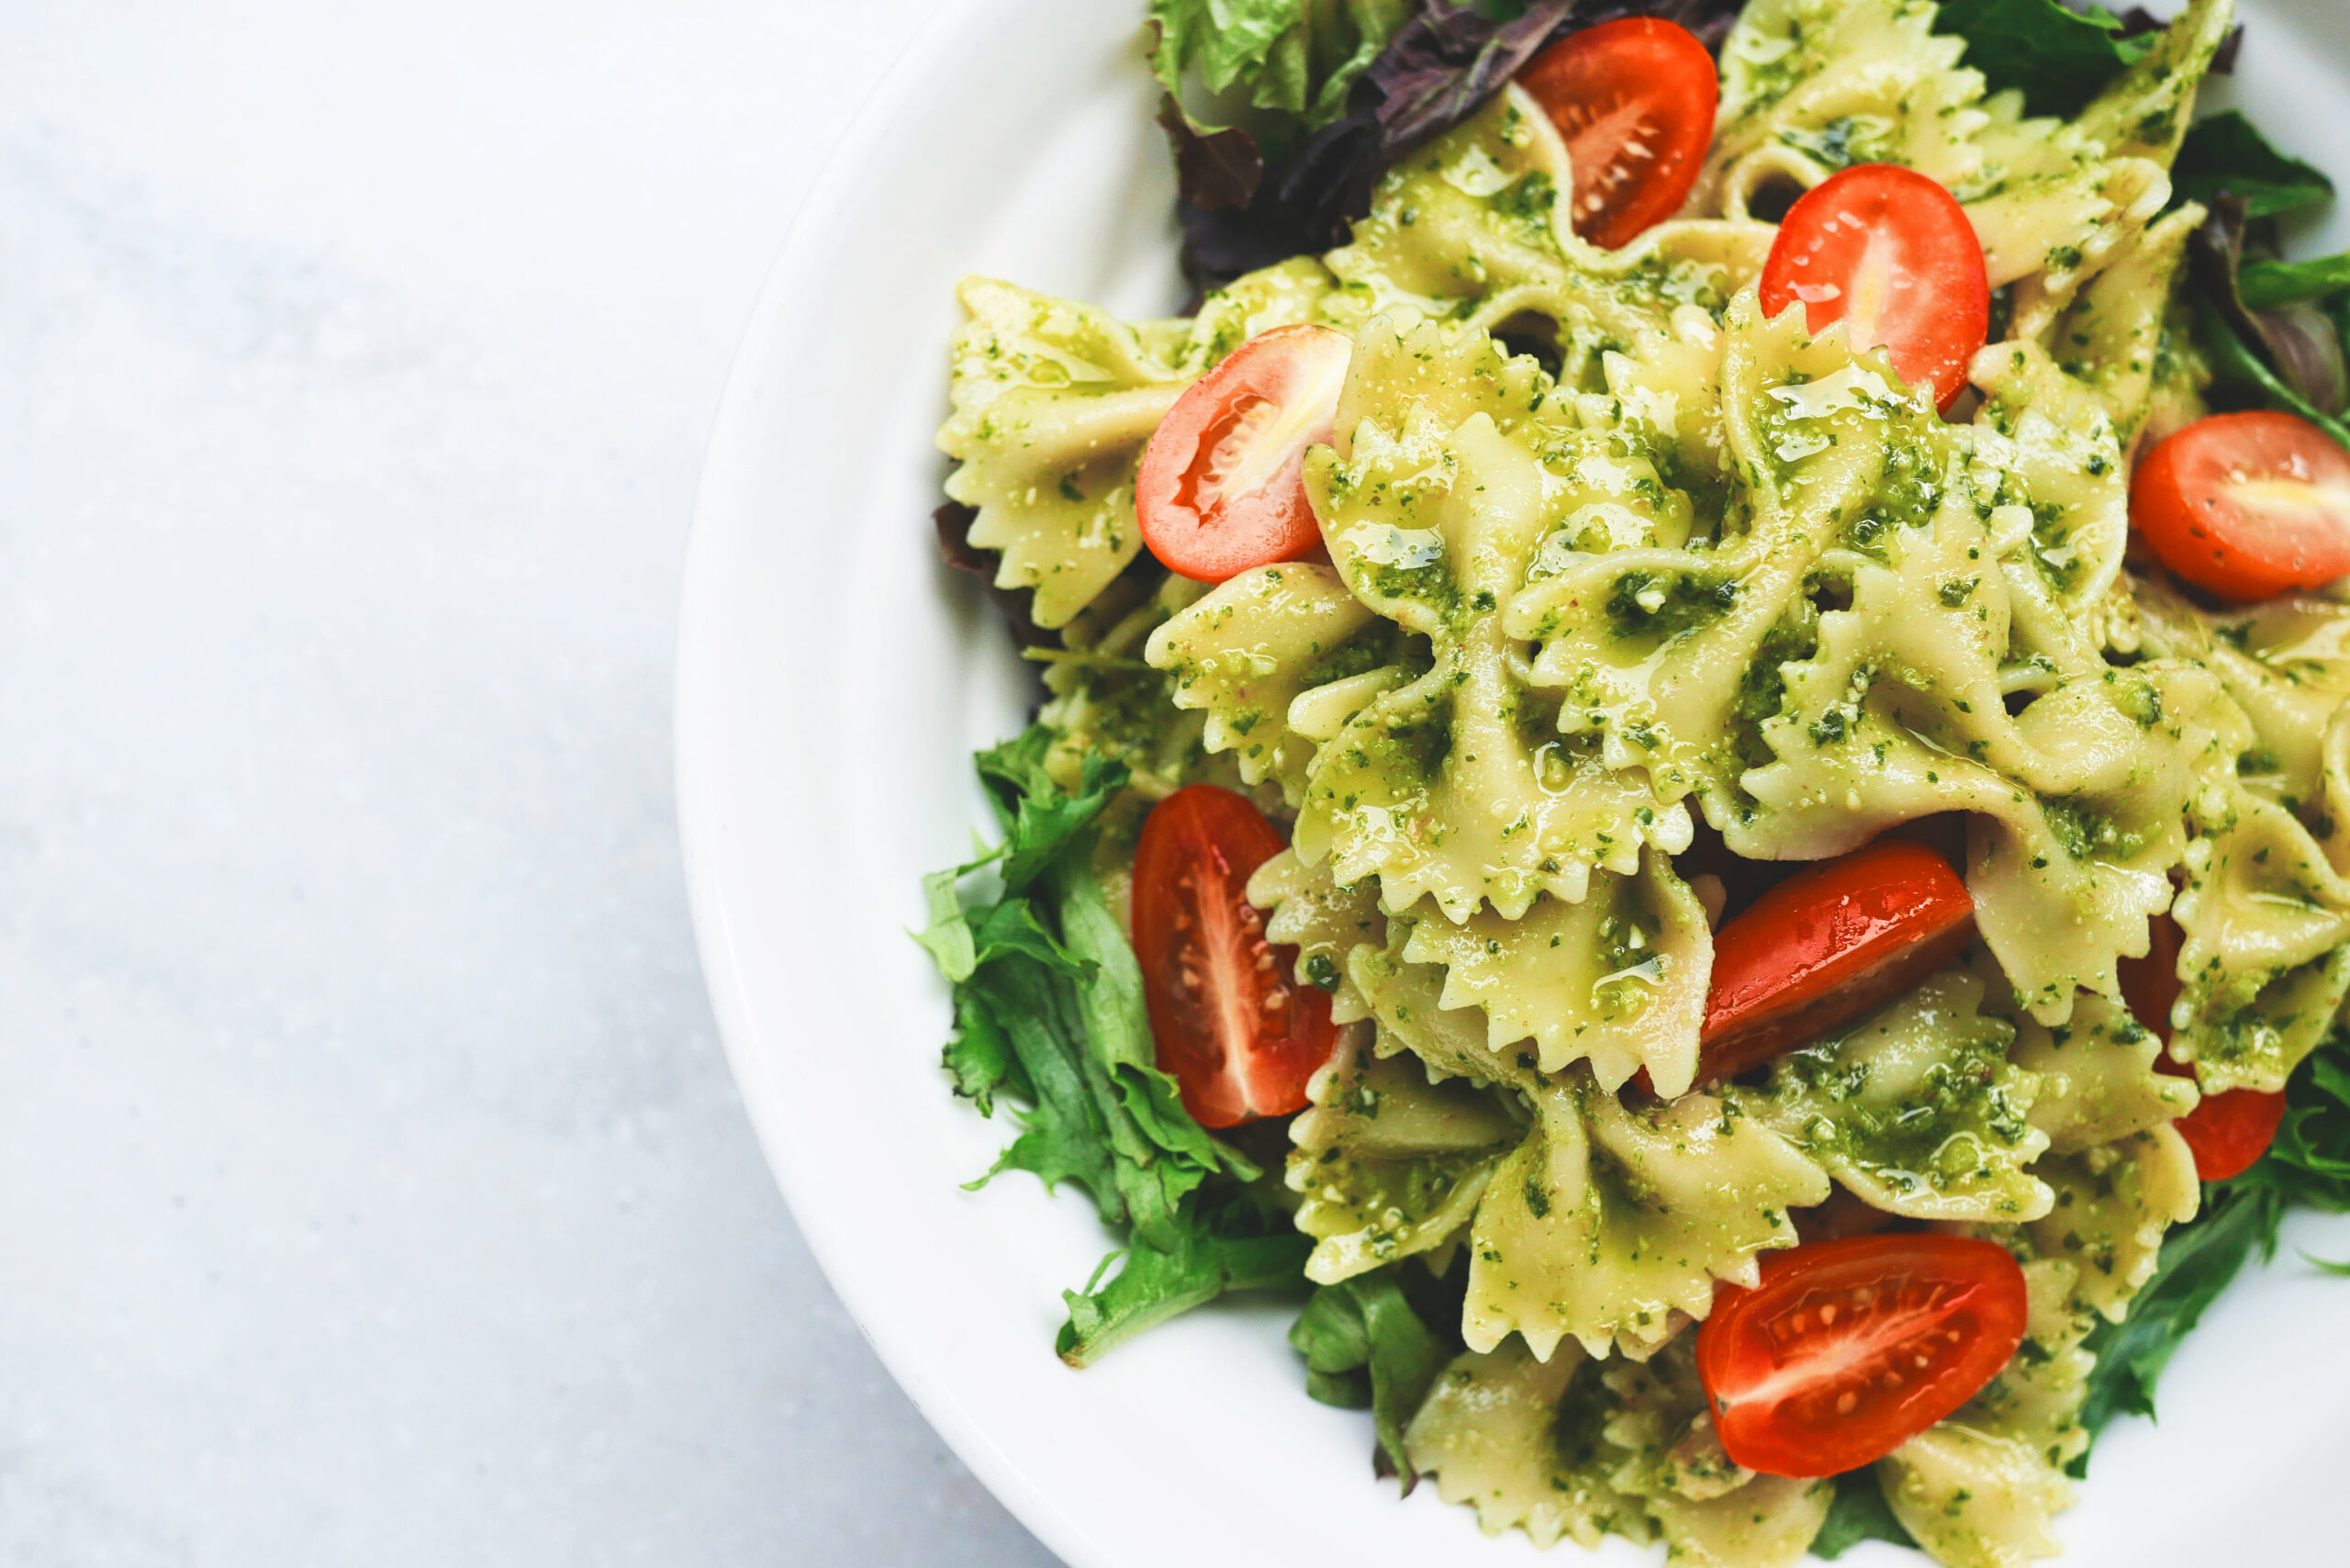
The example below uses a licensed stock photograph to demonstrate the process. Your restaurant should use a current photo of its own dish rather than present this pasta as something from your kitchen.
Get the service facts from the person running it
Before designing, confirm the dish name, price if displayed, included items, availability, service window, and how the customer orders. Decide whether the message belongs at the ordering counter, in the dining area, or in both places.
For a limited evening special, staff need a plan for sold-out portions and the end of service. For a recurring lunch feature, they need to know which days it applies. These details belong in the operating brief even if the screen itself only carries a short invitation.
Do not infer ingredients, dietary suitability, or allergen information from a photograph or an AI description. Have the appropriate restaurant staff verify any such wording using the actual recipe and preparation information. If the screen cannot explain a qualification clearly, direct the customer to the team.
Give the screen one message and one next step
A useful special screen is easy to scan. The dish photograph attracts attention; the headline identifies the offer; the next step tells someone how to act. A separate menu can carry the full range of options.
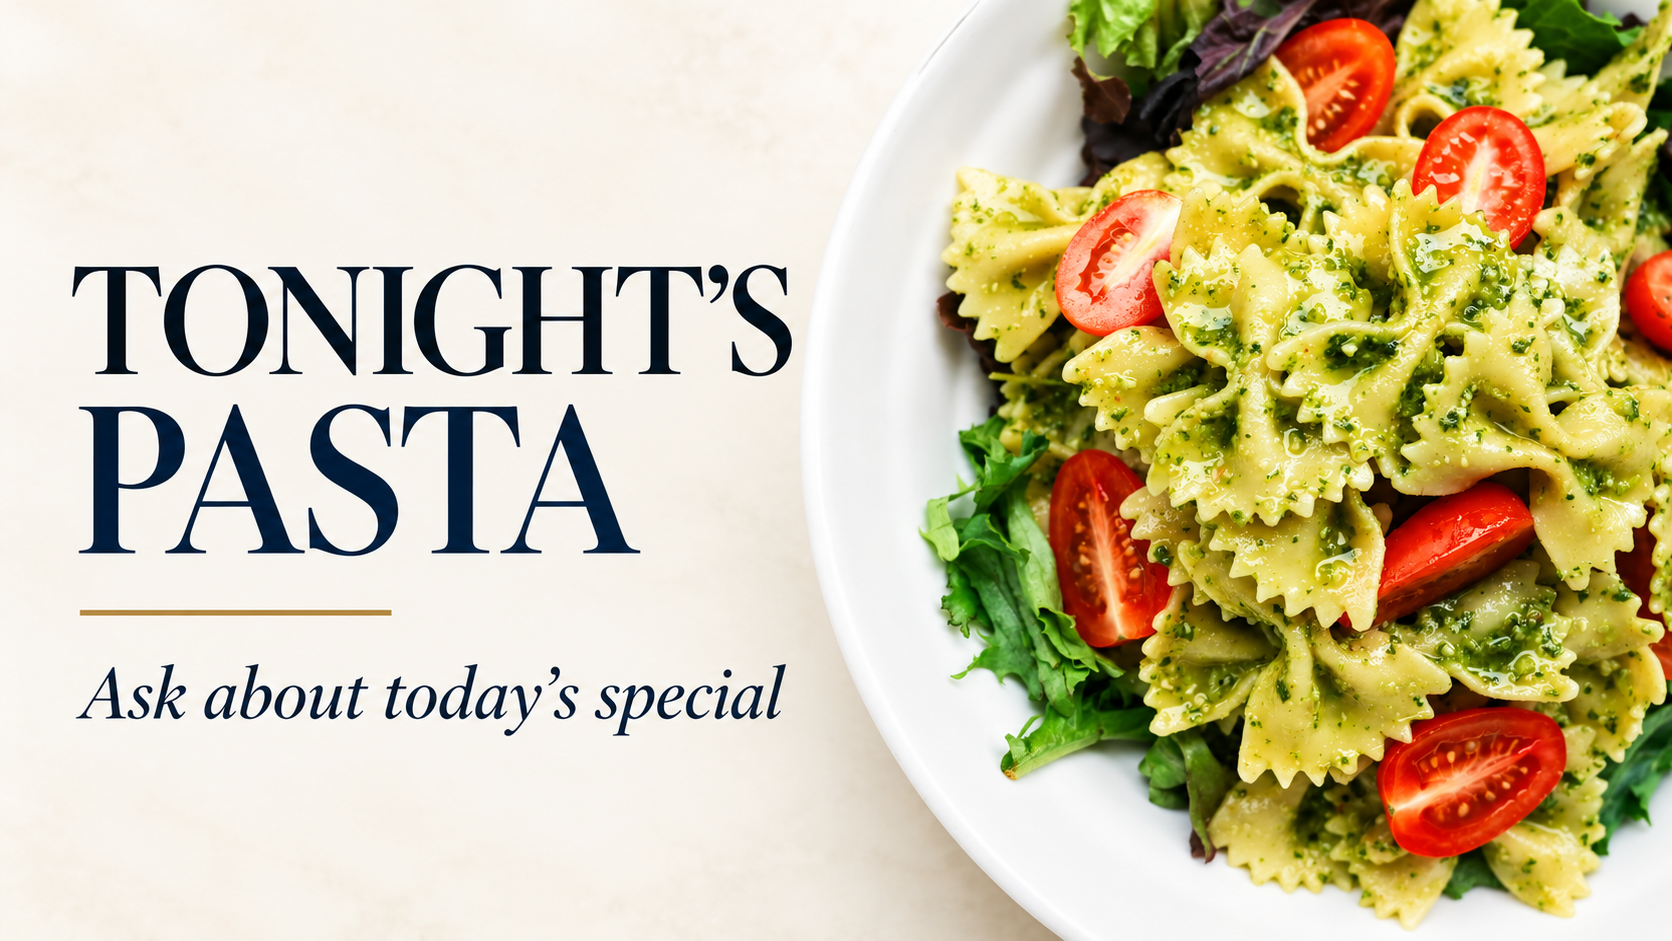
For this fictional layout exercise, the approved wording is “TONIGHT’S PASTA” and “Ask about today’s special.” The featured image demonstrates that direction. It deliberately avoids an invented price, ingredient list, portion claim, or discount.
In your own restaurant, a screen near the counter might tell customers to ask when ordering. A dining-room screen might invite them to ask their server. Choose the action that matches the way your team actually works.
Create the design and inspect what changed
Upload the food photo to Screen Maker. You can start there. If you want to keep the wording fixed, add the kitchen-approved text in the exact-wording input. A short description such as a calm, readable dinner-special screen can guide the visual direction.
Compare the result with the source photograph. Are the dish, serving size, plate, and visible ingredients still represented accurately? Has the design added a side dish or made a sauce appear different? Request a revision if the presentation could give customers the wrong expectation.
Read the text separately from the image. Check the dish name, price, service window, and ordering instruction. A beautiful design still needs to match the kitchen’s actual offer. The product-photo promotion guide shows how the same photo can support different communication goals.
Test it from a diner’s position
Put the approved design on the intended display and stand where customers will see it. Check glare, crop, contrast, and whether the wording is readable without pausing a conversation. If the terms are too small, simplify the message or split the information into separate useful screens.
Keep the action visible long enough for the actual viewing situation. Someone ordering at a counter has a different opportunity to notice the screen from a guest seated for a meal. Watch the rotation and adjust it to the room rather than choosing timing from the desktop preview alone.
Keep the screen synchronized with service
Check the active business and playlist before choosing Approve and add to playlist. The first-screen walkthrough explains that approval step.
Give a shift lead responsibility for removing or replacing the special when it sells out or service ends. Scheduling can help with a known window, but the kitchen may need an earlier change. Keep a neutral replacement ready so staff can update the playlist without designing something during a rush.
Balance specials with useful ordering information and other relevant messages. For the wider content mix, see what to put on a restaurant TV besides the menu.
Choose one dish your kitchen is ready to serve and one service window. Start My 14-Day Screen Test and try the full process: photo, design, review, TV check, and removal when the special ends.